


How to Customise a Cap: From First Idea to Final Stitch
08 October 2026

A cap can be an everyday thing and a very personal thing at the same time. A familiar nickname, a new family title or a phrase from your favourite person can turn something useful into something worth keeping.
In this guide
Start with the meaning, then the design
If you’re wondering how to customise a cap, begin with what you want it to say about the person wearing it. You don’t need a clever slogan or a complicated design. Often the most thoughtful starting point is the name someone answers to at home, a place they return to each summer or an inside joke that has quietly become part of family life.
Write down three possibilities before you open the product page. One might be a first name, another a nickname and the third a short phrase. Say each one out loud. Does it sound like the person? Would they feel comfortable wearing it to the shops, on the school run or out for a weekend walk? That small test is more useful than trying to choose something that will impress everyone.
It also helps to decide whether the cap is mainly for you, a gift or a shared design for a few people. A personal everyday cap might be subtle. A matching family set might use one repeated word with different names on the back. Keep the idea clear before adding extra details.
Choose a cap you’ll actually wear
The base matters just as much as the stitching. Think about the hats already hanging by your door: the colours you pick up most often, whether you like a relaxed shape and how you adjust the fit. A custom design works best when it belongs on a cap you would happily wear without the personalisation.
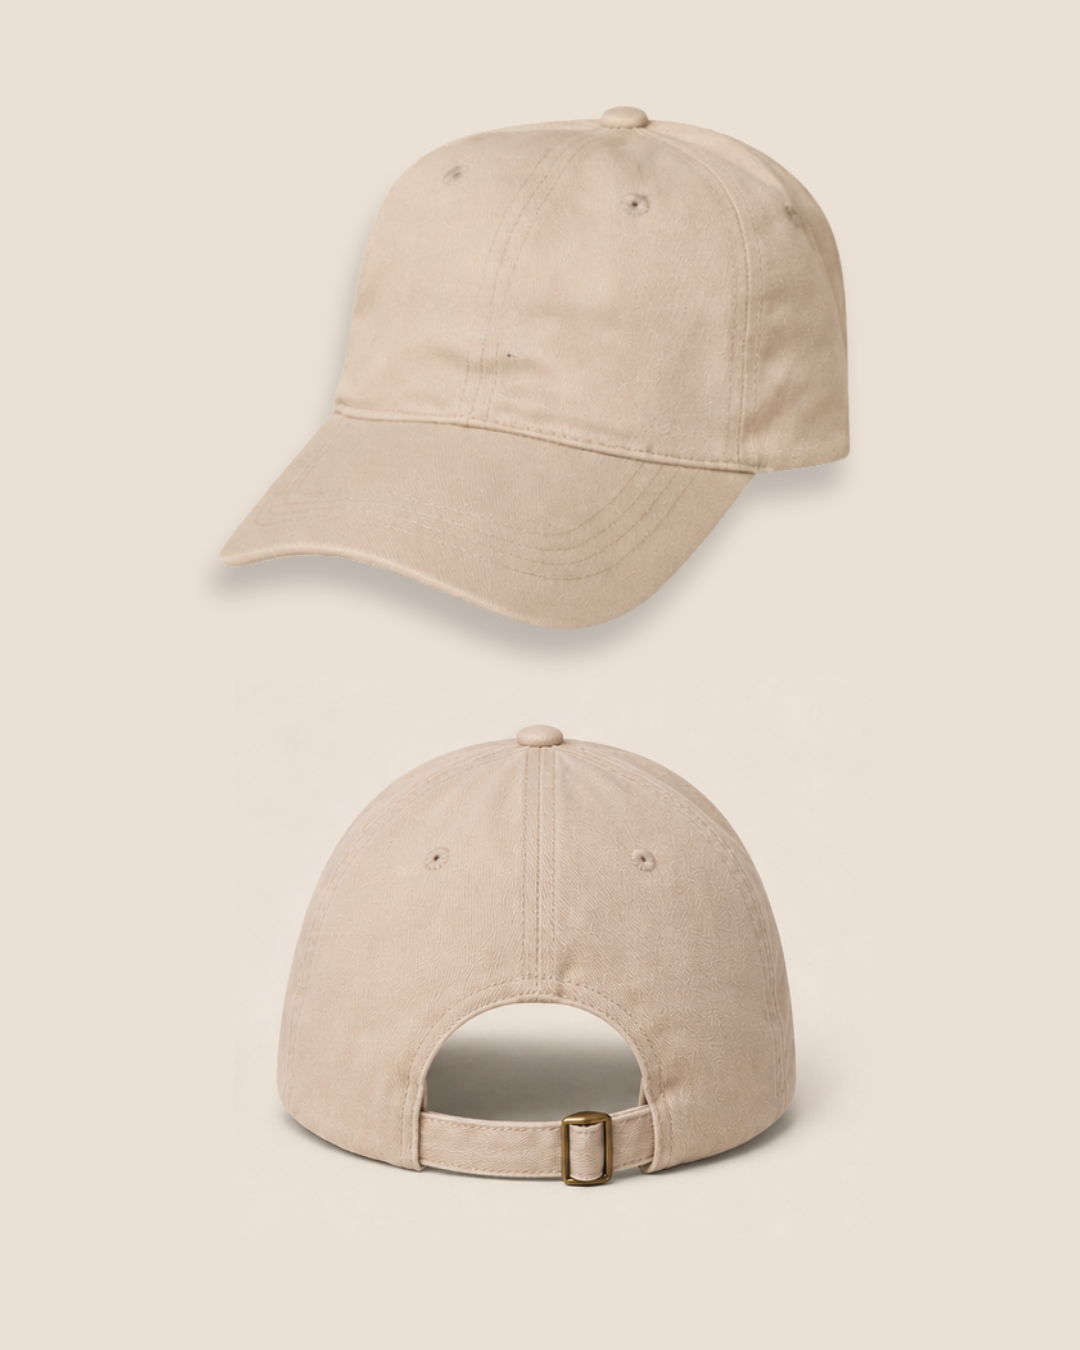
Namesake’s Custom Text Hat is made from soft washed cotton, with a relaxed fit and an adjustable strap. Adult and kids’ options are available on the product page. Check the current size guide against a hat that fits well rather than choosing by age alone. An adjustable strap is useful, but it isn’t a substitute for checking the measurements.
For colour, start with your usual wardrobe. A navy cap can sit easily alongside denim and neutrals; green can bring a little softness to a simple outfit. The available shades may change, so make your final choice from the live product options. If you prefer a different shape, the Custom Text Bucket Hat offers another way to carry the same personal idea.
Give a few words room to breathe
Embroidery gives even a short word a lovely sense of presence. You don’t need to fill every available character. “Mum”, “Pops”, a first name or a little two-word saying can feel complete on its own. If you have a longer sentence in mind, look for the part that holds the meaning and leave the rest for the card.
The current Custom Text Hat fields allow up to 26 characters on the front and 12 on the back. Those are product-entry limits, rather than a promise that every word combination will have the same proportions. Capitals, punctuation and the width of individual letters all change how a line feels. Read the current product guidance and ask if you’re unsure about an unusual request.
Separate what everyone will see from what can be a quieter detail. You might put a nickname on the front and a small date or initials on the back, where that option is offered. Front and back embroidery are selected separately, so check your chosen options and the total before adding the cap to your cart.
Let the font and thread set the mood
The same word can feel quite different in a simple block font and a flowing script. On the Custom Text Hat, the current font choices include Times, Block and Palace script. Think about the personality of the words: straightforward lettering can suit a playful family nickname, while a script may give a short name a softer feel.
Choose the lettering and thread colour together. A clear contrast between the cap and the thread makes the words easier to notice. A closer colour pairing creates a quieter effect. Neither is the right answer for everyone; it depends on whether you want the embroidery to be the first thing people see or a detail they notice up close.
Look at the product photographs as examples of scale and character, then check your own combination in the available options. Avoid treating the screen as an exact colour sample: lighting and displays can change what you see. If the relationship between two shades is especially important, contact the studio before placing the order.
Do one careful check before ordering
Once the design feels right, step away for a moment and come back to read it with fresh eyes. Personalised text is easy to skim because you already know what it is meant to say. Check every letter, including repeated letters in names, apostrophes and the order of initials. Make sure the capitalisation is intentional.
- Confirm the cap colour and size against the current product options.
- Read front and back text separately, including spaces and punctuation.
- Check the font and thread colour you have selected.
- Review any additional embroidery charges in your cart.
- Check current production and delivery information for your destination.
If you are ordering for a birthday or gathering, allow time for both embroidery and shipping. Production time is not the same as the time a parcel spends travelling. Read the current FAQs rather than relying on an old social post, particularly if the order is heading to Australia, New Zealand or the United States. For a special deadline or something outside the listed options, ask Namesake before ordering.
Make it part of everyday life
The loveliest personalised pieces tend to become familiar. They leave the house with you, live near the keys and turn up in photos without anyone arranging them. Choose words you’ll enjoy beyond one afternoon, and there’s no need to save the finished cap for a special occasion.
Keep care simple and follow the hat-specific advice in Namesake’s care guide. Spot clean marks with a clean, damp cloth and use a little gentle soap for more stubborn patches. Avoid fully submerging a structured hat, as water can affect the brim and shape. Let it air dry, and never pull a loose thread end.
If your idea is a drawing or a pet portrait rather than lettering, start with the right product and preparation guide. The journal has separate advice on preparing kids’ artwork and choosing a pet photo. That gives your particular design the attention it needs.
Frequently asked questions
Can I customise the front and back of a cap?
Yes, Namesake’s Custom Text Hat offers front and back text options. Select the placements you want on the product page, check their character limits and review any additional cost before ordering.
How much text should I put on a cap?
Start with the shortest version that still feels meaningful. The current Custom Text Hat allows 26 characters on the front and 12 on the back, but a shorter name or phrase can give the lettering more breathing room.
Can I choose my own font and thread colour?
Choose from the fonts and thread colours shown on the product page. If you have something outside those options in mind, ask the studio first rather than assuming an order note will make it possible.
Should I choose an adult or kids’ cap?
Use the product’s current size guide and compare the measurements with a comfortable hat. The adjustable strap helps fine-tune the fit, but check the base size before choosing.
How do I clean a personalised embroidered cap?
Follow the hat section of the care guide: spot clean with a damp cloth, use gentle soap when needed and air dry. Avoid soaking structured hats or pulling on embroidery threads.
Choose your cap, then make it yours
Explore the Custom Text Hat


